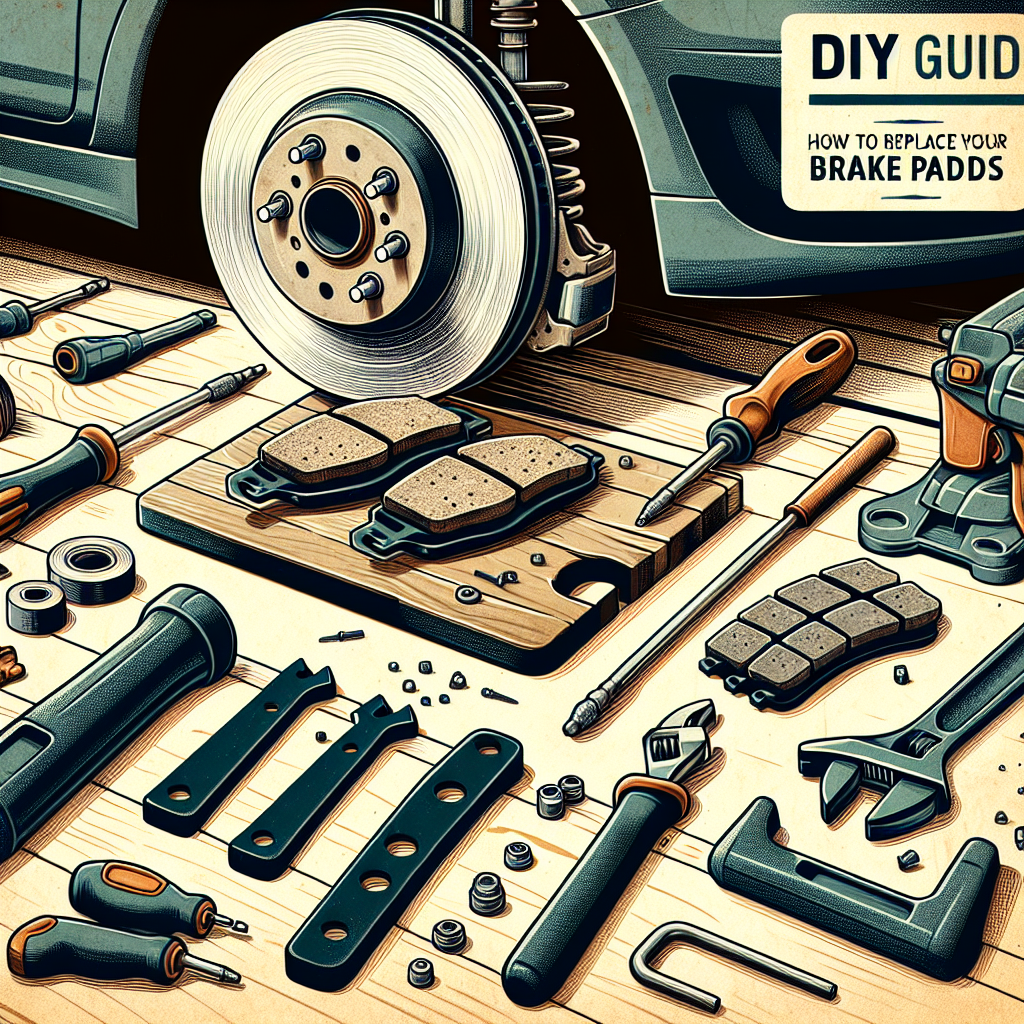
Replacing your brake pads at home can save you a significant amount of money and provide you with the satisfaction of knowing your vehicle is well-maintained. While the process might seem daunting at first, with the right tools and guidance, it can be a straightforward task. This tutorial will walk you through each step to ensure a smooth and successful brake pad replacement.
Tools and Materials You’ll Need:
- New brake pads
- Jack and jack stands
- Lug wrench
- C-clamp or brake caliper tool
- Socket wrench set
- Brake fluid
- Disposable gloves
- Brake cleaner
- Rags or paper towels
- Torque wrench
Preparing Your Vehicle:
-
Park Safely: Start by parking your vehicle on a flat surface. Engage the parking brake to add an extra layer of security.
-
Loosen the Lug Nuts: Before lifting the car, slightly loosen the lug nuts on the wheels you’re working on. This is easier to do while the vehicle is still on the ground.
-
Lift the Vehicle: Use your jack to lift the car and then place jack stands under the car for added safety. Never rely solely on the jack to hold up the vehicle.
- Remove the Wheels: Finish unscrewing the lug nuts and remove the wheels to expose the brake calipers and rotors.
Removing the Old Brake Pads:
-
Remove the Brake Caliper: Locate the caliper holding the brake pads. Use your socket wrench to remove the bolts holding the caliper in place. Be careful not to let the caliper dangle by the brake line—use a piece of wire or rope to secure it to the suspension.
-
Extract the Old Pads: Once the caliper is off, you’ll be able to slide the old brake pads out. Make note of their positioning, as you’ll need to install the new ones in the same way.
- Inspect the Rotors: Take this opportunity to inspect your brake rotors for any signs of excessive wear or damage. If they need resurfacing or replacement, now is a good time to take care of that.
Installing the New Brake Pads:
-
Prepare the Caliper: Use a C-clamp or brake caliper tool to push the caliper piston back into its housing. This is necessary to make room for the new, thicker brake pads.
-
Install the New Pads: Slide the new brake pads into place, ensuring they align correctly. Some brake pads come with a wear indicator; make sure it’s positioned properly.
- Reattach the Caliper: Place the caliper back over the new brake pads and secure it with the bolts you removed earlier. Use your torque wrench to tighten the bolts to the manufacturer’s specifications.
Final Steps:
-
Reinstall the Wheel: Put the wheel back on and hand-tighten the lug nuts.
-
Lower the Vehicle: Carefully remove the jack stands and lower your vehicle back to the ground.
-
Tighten the Lug Nuts: Use your torque wrench to fully tighten the lug nuts in a star pattern to ensure even pressure.
- Test the Brakes: Before hitting the road, pump the brake pedal a few times to ensure the brake pads are seated correctly and check your brake fluid level.
Replacing your brake pads at home can be a gratifying and educational experience, giving you better insight into the mechanics of your vehicle. If you are interested in learning more about car maintenance and DIY repairs, the Family Handyman offers excellent tutorials and resources for car enthusiasts of all skill levels.
By following these steps, you can maintain your car’s braking system and keep it in peak condition, ensuring both your safety and the longevity of your vehicle.

